SYBASoil: Premium Soil Mixes
Soil Mixes That Truly Understand Your Plants Not all soil mixes are...
Soil Mixes That Truly Understand Your Plants Not all soil mixes are...
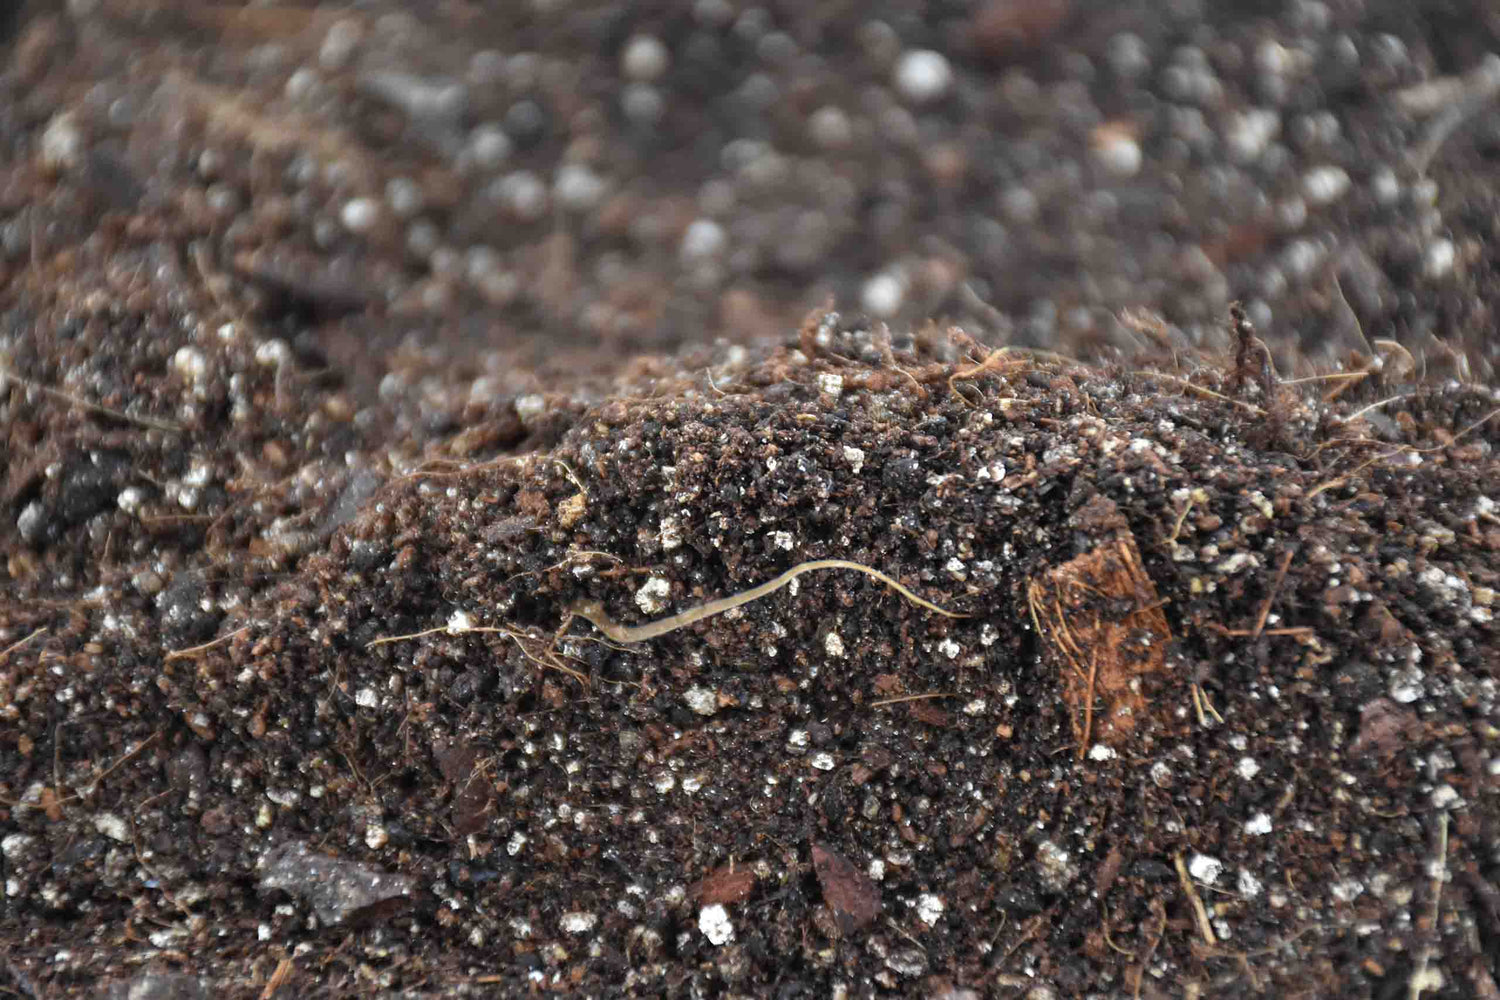
Camellia Soil that stays evenly moist, drains predictably, and keeps roots well aerated, that is exactly what our Universal Mix delivers for compact camellias in tubs and planters. This fine to medium textured blend supports dense feeder roots without compacting, so you can pot straight from the bag and focus on light, watering rhythm, and bud protection. It evens the wet to dry cycle, helps prevent root rot, and keeps air moving through the profile as plants mature and set flower buds for the next season. Crafted to our specs at Sybotanica, it balances coir, aeration minerals, and gentle nutrition so leaves hold their gloss and buds stay firm.
Below you will find each ingrediënt, exactly as used in our recipe, plus why it suits camellia’s shallow, fibrous roots and steady moisture needs.
Together, these components create what you want from Camellia Soil, an evenly moist yet airy substrate with fast drainage and balanced nutrition. You can top dress mid season or repot with the same Universal mix to keep performance consistent across seasons with Sybotanica quality.
Many camellias grow at woodland edges and mountain foothills where soils are loose, rich with organic crumbs, and well drained. Rains arrive in pulses, then light and moving air dry the surface while thin films of moisture linger below. Roots spread shallowly and prefer a cool, shaded substrate while the canopy reaches toward brighter light. That rhythm explains why structured, breathable media outperform dense garden soil in containers, water should pass through freely, large air spaces must stay open, and a modest reservoir should support regular transpiration as buds form.
Light and placement: Give bright light with gentle morning sun or dappled exposure. Keep the pot where the crown stays shaded and the root zone avoids afternoon heat. Rotate the container every couple of weeks for even branch development.
Water: Pre moisten the mix at planting, then water thoroughly whenever the top few centimeters begin to lighten in color. With proper Camellia Soil excess should drain quickly into the saucer, then you can empty it. Maintain consistent moisture from late summer through bud set, avoid the pattern of a heavy soak followed by a long drought.
Feeding: Use a balanced plant food (liquid) during active growth. The worm castings and organic fertilisers in the base provide a steady baseline, so you do not need to add any fertiliser the first 6 months after repotting!
Pot choice and planting depth: Choose a wide, stable container with generous drainage holes. Set the plant at the same depth as in the nursery pot and keep the crown slightly proud of the surface so water does not pool at the stem.
Surface car: A thin layer of inert gravel on top reduces splash, keeps the surface cleaner after rain, and slows evaporation without blocking gas exchange.
Airflow and hygiene: Space containers so foliage dries quickly after watering. Clear fallen petals and leaves from the surface to reduce disease pressure around the crown and to keep Camellia Soil breathing well.
Seasonal rhythm: Protect swelling buds from late cold snaps by moving containers to a sheltered spot. After flowering, tidy lightly and refresh the upper few centimeters of mix to restore structure.
Pruning and training: Prune just after bloom to shape and remove weak or crossing wood. Keep the canopy open so light reaches interior leaves and so air can move through on warm days.
Troubleshooting: If buds drop early, review watering consistency and confirm the root zone is not sitting wet. If foliage pales, assess feeding cadence and check that your Camellia Soil is rehydrating evenly after each soak. If the surface crusts, lightly rake the top layer to reopen air pathways so oxygen reaches the center of the root ball.
Blackberry Soil | Raspberry Soil | Chili Soil | Grapevine Soil | Magnolia Soil | Potato Soil | Rosemary Soil | Paprika Soil | Bougainvillea Soil | Cucumber Soil