SYBASoil: Premium Soil Mixes
Soil Mixes That Truly Understand Your Plants Not all soil mixes are...
Soil Mixes That Truly Understand Your Plants Not all soil mixes are...


🌸 The Perfect Clematis Soil for Healthy Growth & Pretty Flowers
……
100% Satisfaction Guarantee Or Your Money Back !
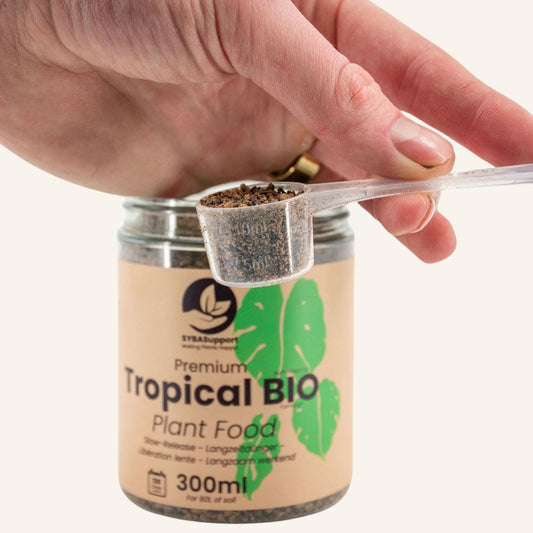
Contains ~180 days of nutrients.


Join 184.351 Plant Lovers With Happy Plants!

Ingredients to help your Clematis Plants thrive! Read more
*From a survey answered by 1182 Customers using SYBASoil 30+ days.
Report no soil-based pests like Fungus Gnats or Root Aphids since using SYBASoil.
See stronger root & leaf growth within weeks.
Say watering their plants becomes noticably easier.
We guarantee a 100% satisfaction! Our mission is to help you get happy plants.
If for some reason we fail to do this, just contact us via our help center or return your items hassle-free within 30 days.
Not convinced? Check out our Trustpilot reviews.
The nutrients in SYBASoil will run out in ~6 months on average.
We will advice you on the right fertiliser after doing our plant scan.
We recommend repotting once any of these things happen:
94.2% of customers report visibly stronger roots & leaf growth within a few weeks.
You will also notice that watering becomes a lot easier due to having the right soil structure.
It becomes too compact over time, leading to a state where it no longer absorbs water.
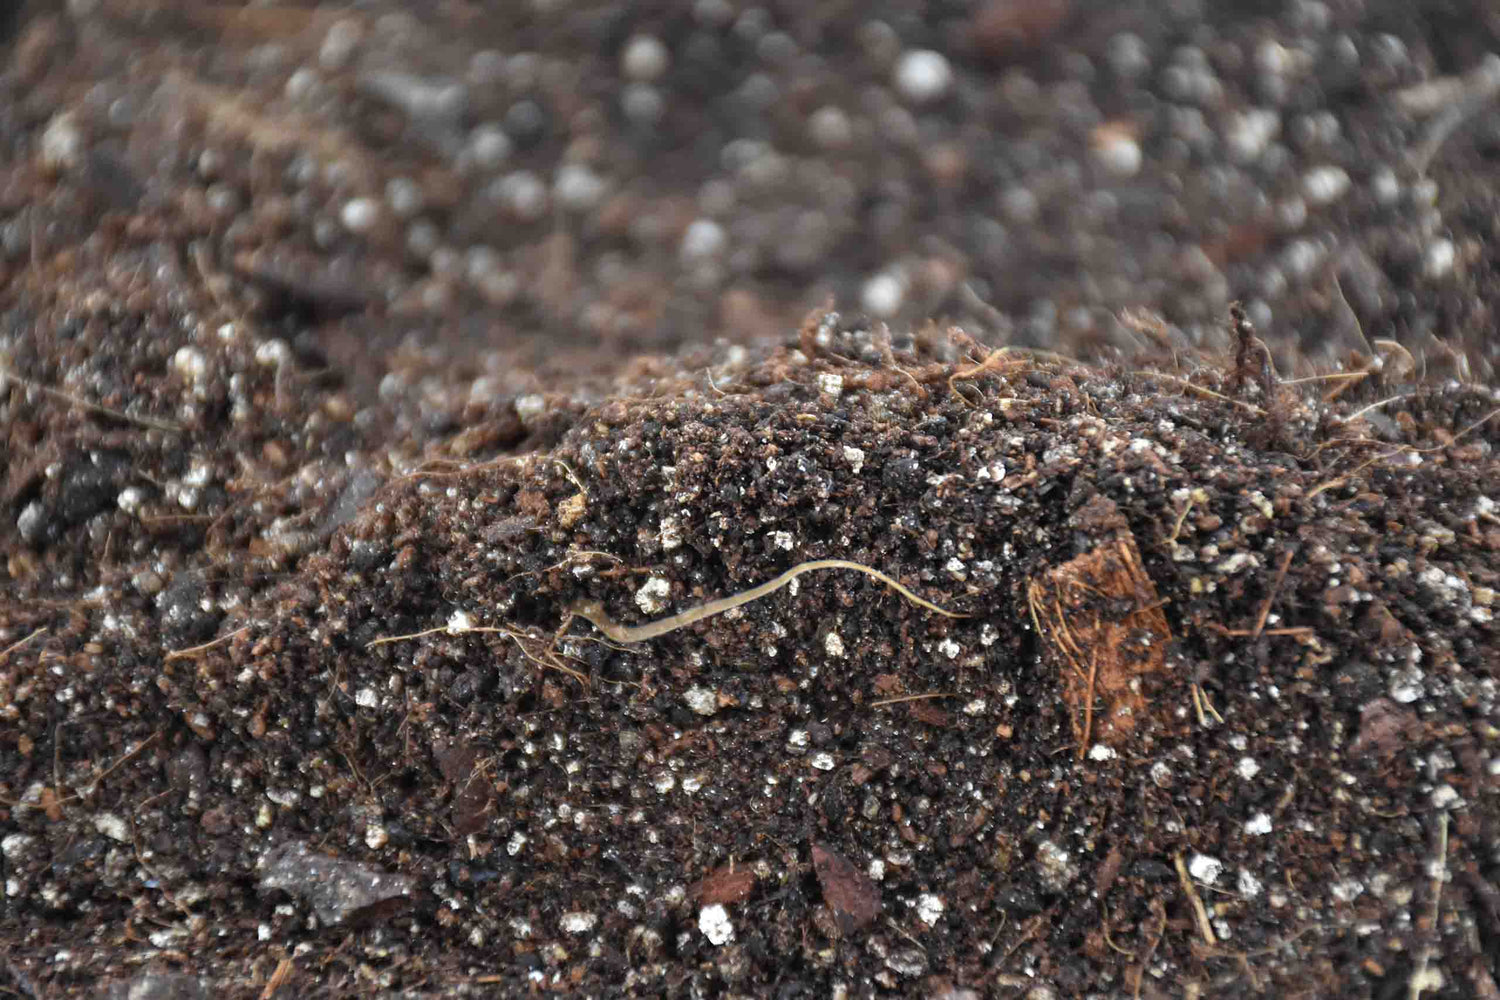
That's why we opt for coconut fiber and worm castings, keeping your potting soil delightfully airy and usable for much longer. Much more environmentally friendly in its use & less CO2!

Your Clematis Plants deserve the same love
100% Satisfaction guarantee or money back
Clematis Soil that keeps moisture even, drains quickly, and breathes well, that is exactly what our Universal Mix delivers for flowering climbers in pots and planters. This fine to medium textured blend supports fast feeder roots without waterlogging, so you can pot straight from the bag and focus on light, watering rhythm, and training on a trellis. The structure resists compaction, keeps oxygen moving through the root zone, and maintains a steady moisture film that protects the crown while vines put on length. Crafted to our specs at Sybotanica, it balances coir, aeration minerals, and gentle nutrition to power strong shoots and reliable bloom flushes.
Below you will find each ingredient, exactly as used in our recipe, plus why it suits clematis’ shallow, fibrous roots and flower focused growth.
Together, these components create what you want from Clematis Soil, an evenly moist yet airy substrate with quick drainage and balanced nutrition. You can top dress mid season or repot with the same Universal mix to keep performance consistent with Sybotanica quality.
Many clematis species grow along woodland edges and open thickets where rain arrives in pulses and soils are loose, gritty, and well aerated. Roots run shallow through organic crumbs mixed with mineral grit while the vine climbs into light. The ground stays cool, the surface dries between showers, and air can move freely between particles. That pattern explains why structured, breathable media outperform dense garden soil in containers, water should pass through freely, large air spaces must remain open, and a modest reservoir should support steady transpiration as buds form.
Light and placement: Give bright light with several hours of direct sun for the vine, aim to keep the root zone shaded and cool. A small top mulch of light colored gravel or a low companion plant can shade the pot surface without smothering aeration.
Water: Pre moisten the mix at planting, then water thoroughly when the top few centimeters begin to lighten. With proper Clematis Soil excess should drain quickly into the saucer, then you can empty it. Keep moisture consistent during the push from shoot growth to bloom, avoid the pattern of heavy soak followed by long drought.
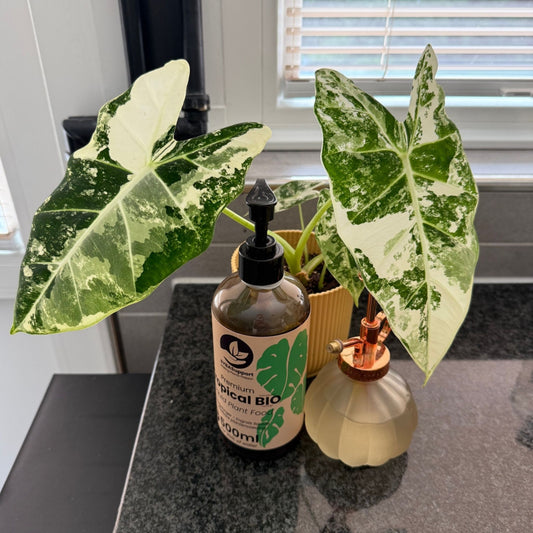
Feeding: Use a balanced plant food (liquid) during active growth. The worm castings and organic fertilisers in your base provide a steady baseline, so you do not need to add any fertiliser the first 6 months after repotting!
Training and support: Install a trellis, net, or other support at potting. Guide new shoots outward and upward, secure loosely so stems do not chafe. Keep the canopy open so leaves dry quickly after watering, airflow is your friend.
Pruning rhythm: Follow your variety’s pruning group if known, but as a container rule of thumb, tidy after each bloom flush by removing spent stems and tip pruning to shape. Regular light pruning directs energy to fresh flowering buds.
Pot choice and sizing: Choose a tall, stable container with generous drainage holes. Set the crown at the same depth as in the nursery pot and keep it slightly proud of the surface to discourage pooling. Step up one size when roots fill the pot or water begins to rush through too quickly.
Surface care: A thin gravel layer helps reduce splash, keeps the surface cleaner after rain, and slows evaporation without blocking gas exchange.
Airflow and hygiene: Space containers so foliage dries fast. Clear fallen petals and leaves from the surface to reduce disease pressure around the crown.
Temperature: Aim for warm days with steady ventilation. Hot pots can stress roots, so move black containers out of harsh afternoon sun or use a cachepot to buffer heat.
Troubleshooting: If new shoots stall, review light and feeding, then check that your Clematis Soil is rehydrating evenly after each soak. If leaves crisp at the edges, increase watering frequency slightly and confirm airflow. If the surface crusts, lightly rake the top layer to reopen air pathways so oxygen reaches the center of the root ball.
Citrus Soil | Olive tree Soil | Rhododendron Soil | Tomato Soil | Vegetable Soil | Lavender Soil | Hortensia Soil | Rose Soil | Camellia Soil