Repotting feels tricky, but with a clear checklist and some tips, you can help any houseplant settle fast. In this guide, I cover when to repot, what soil mixes to use, and a step-by-step guide that keeps roots healthy and leaves happy. Follow along, fix the basics, and watch your plants thrive.
Key Takeaways:
- Repot every 12 to 18 months, ideally in spring or summer, winter is fine if you give the plants extra light.
- Choose a pot 2 to 4 cm wider than the current one, always with drainage holes.
- Use the right mix for the plant. SYBASoil has plant-specific options.
- Loosen circling roots, set the crown at soil level, and leave space for watering.
- Water thoroughly until it flows out of the bottom, then let excess drain.
When Should You Repot
Repot about every 12 to 18 months, so roots have new volume to grow into. Spring or summer is ideal since most plants are in their growing season, and they re-establish quickly. If your plants grow indoors under good lights, you can repot in winter as well.
If you need a step-by-step explanation of the process, including pot size, soil choice, and aftercare, our ultimate beginner guide to repotting covers everything in detail.
Why Repot at All
Fresh, well-matched soil improves aeration and moisture balance, which supports strong roots and bigger, greener leaves. With a quality mix, nutrients are available in a more stable way, and watering becomes more predictable. Learn more about the top 5 best soil for houseplants to find the right mix for your plant.
Quick Self-Check Before Repotting
Check for these signs to see if repotting is needed:
- Top-heavy: Pot tips easily.
- Roots outgrown: Growing through drainage holes.
- Plant lifted: Root ball pushing the plant up in the pot.
- Fast-drying soil: Water runs through quicker than normal, or the mix dries unusually fast.
- Slow growth: Despite proper light, water, and care.
- Compacted soil: The Mix looks poor or compacted.
- Root-bound: Roots circling inside the pot.
If several of these apply and growth seems slow, it’s time to repot!
What You Need
Gather these items before you start repotting to make the process smooth and stress-free for your plant.
- Plant: Ready for a refresh.
- New pot: 2-4 cm wider in diameter than the current pot, with drainage holes. Use a decorative cover pot if you like, but always remove the inner pot to water and let excess water drain. If you’re unsure about pot size, check our guide for advice on picking the perfect pot.
- Fresh soil: Choose a potting mix suited to your plant. SYBASoil has mixes you can select by species or type.
- Optional tools: Tarp or trash bag to keep your workspace clean, or work outside.
Step-by-Step Repotting Guide
Repotting doesn’t have to be stressful. Here are the simple steps to refresh your plant’s soil, protect its roots, and help it thrive in a new pot.
Step 1. Prep and Remove the Plant
Lay out your tools and soil. Gently remove the plant from its old pot. If the root ball is tight, squeeze the sides of a plastic nursery pot or tap the rim to loosen. Try to keep stress low for the best recovery. Strong plants tolerate a bit more handling if needed.
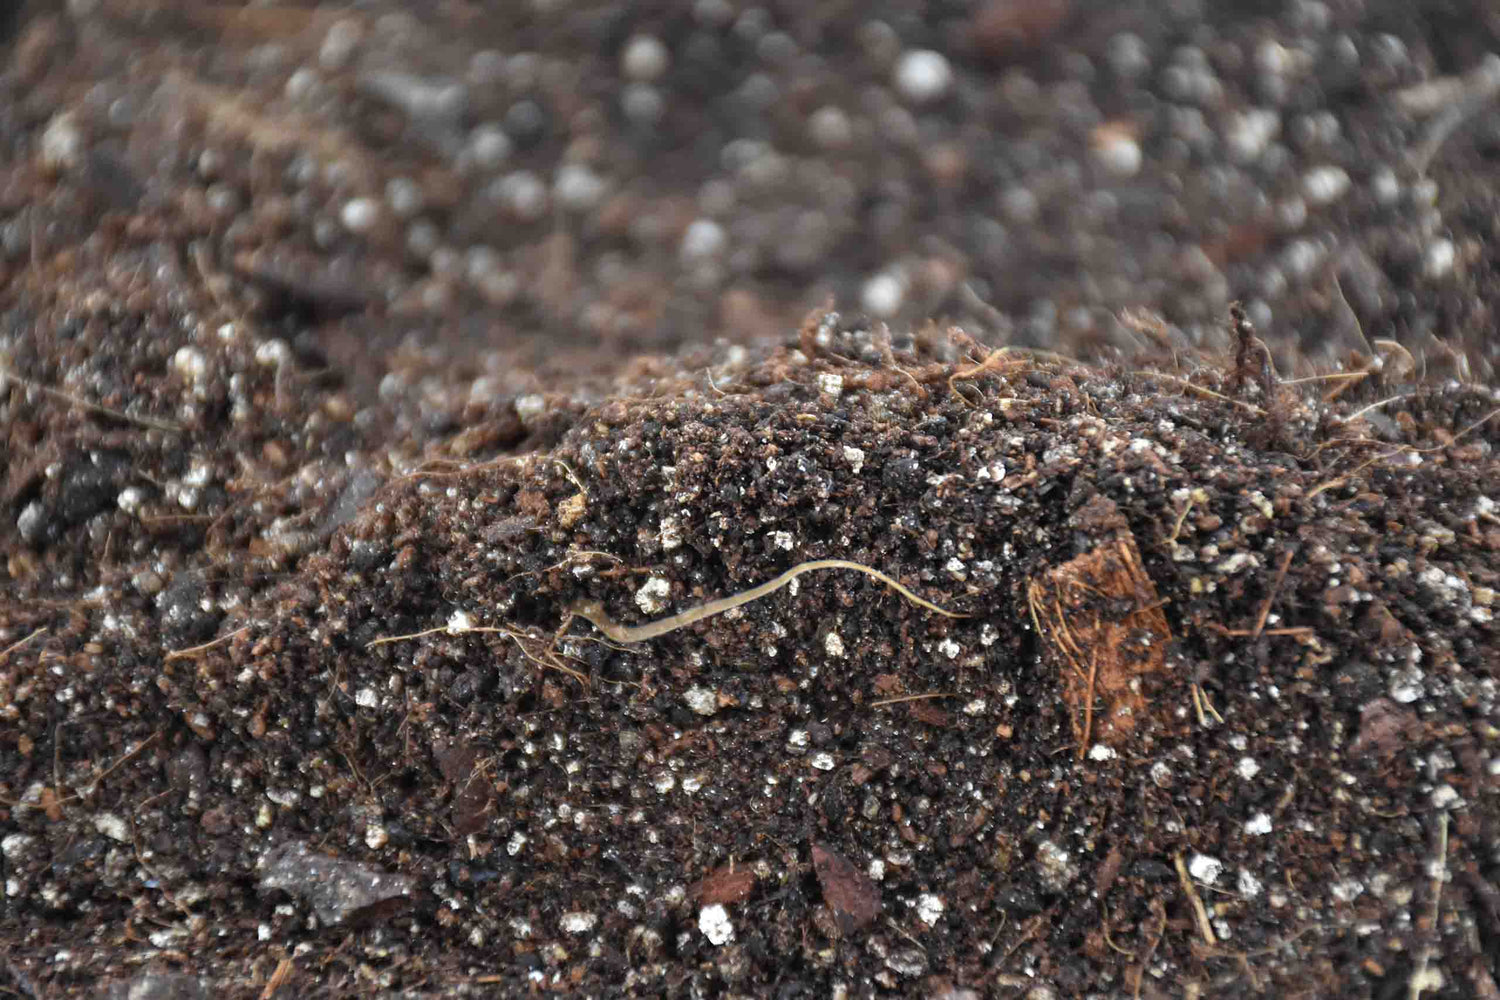
Step 2. Evaluate and Loosen Roots
Check the roots for health. Carefully loosen circling roots so they do not continue to spiral. This helps the plant anchor into fresh soil. Remove old soil if it is clearly the wrong type for the plant. If you repotted 12 to 18 months ago and the mix still suits the species, loosening the root ball is often enough.
Proper root care also helps prevent problems like root rot. Learn how in our 6-step guide to recognize, control, and prevent root rot.
Step 3: Start the New Pot
Add a base layer of fresh mix. Aim to position the plant so that the point where the roots meet the stems, the crown, sits at the new soil line. Leave a small gap at the top to prevent water from spilling over the rim.
Tip: Use a pot volume calculator to figure out exactly how much soil you’ll need.
Step 4: Set and Fill Up
Make a pocket for the roots, place the plant, and backfill around the sides. Lightly press the soil so the plant stands on its own, do not compact the mix hard. Add more soil as needed until the crown is at soil level and the plant feels stable.
Step 5: Water Thoroughly
Water fully until moisture flows out of the drainage holes. Let all excess drain away. This settles the mix around the roots and encourages new roots to grow outward into the fresh soil. Learn how to water plants properly and prevent common errors in our guide.
Frequently Asked Questions
How do I feed after repotting?
Top dress with worm castings on the surface. This keeps nutrition available as the plant settles.
Which soil should I use?
Match the plant to its natural habitat. Forest floor species prefer mixes that hold consistent moisture while staying airy. Desert plants like cacti prefer fast-draining, sandy mixes. If you are unsure, use the tools on our website to pick the right SYBASoil blend. For DIY projects, we also provide guidance on components and proportions.
Final Notes
Take your time. Keep the crown at soil level, leave space for watering, and always use a pot with drainage. For best results, choose a high-quality potting mix for houseplants to support healthy roots and steady growth.