
**Don’t feel like reading? Watch our video!**
Do you have some experience with terrariums and are just looking for a quick and easy guide to help you get started? We’ve got you covered!
For those who need a little bit more help, you can find an in-depth tutorial to build your very first closed Terrarium below!
Quick and Easy Terrarium Guide
- Add a layer of clay balls (at least 1 cm thick)
- Add a layer of sphagnum moss
- Add your activated carbon
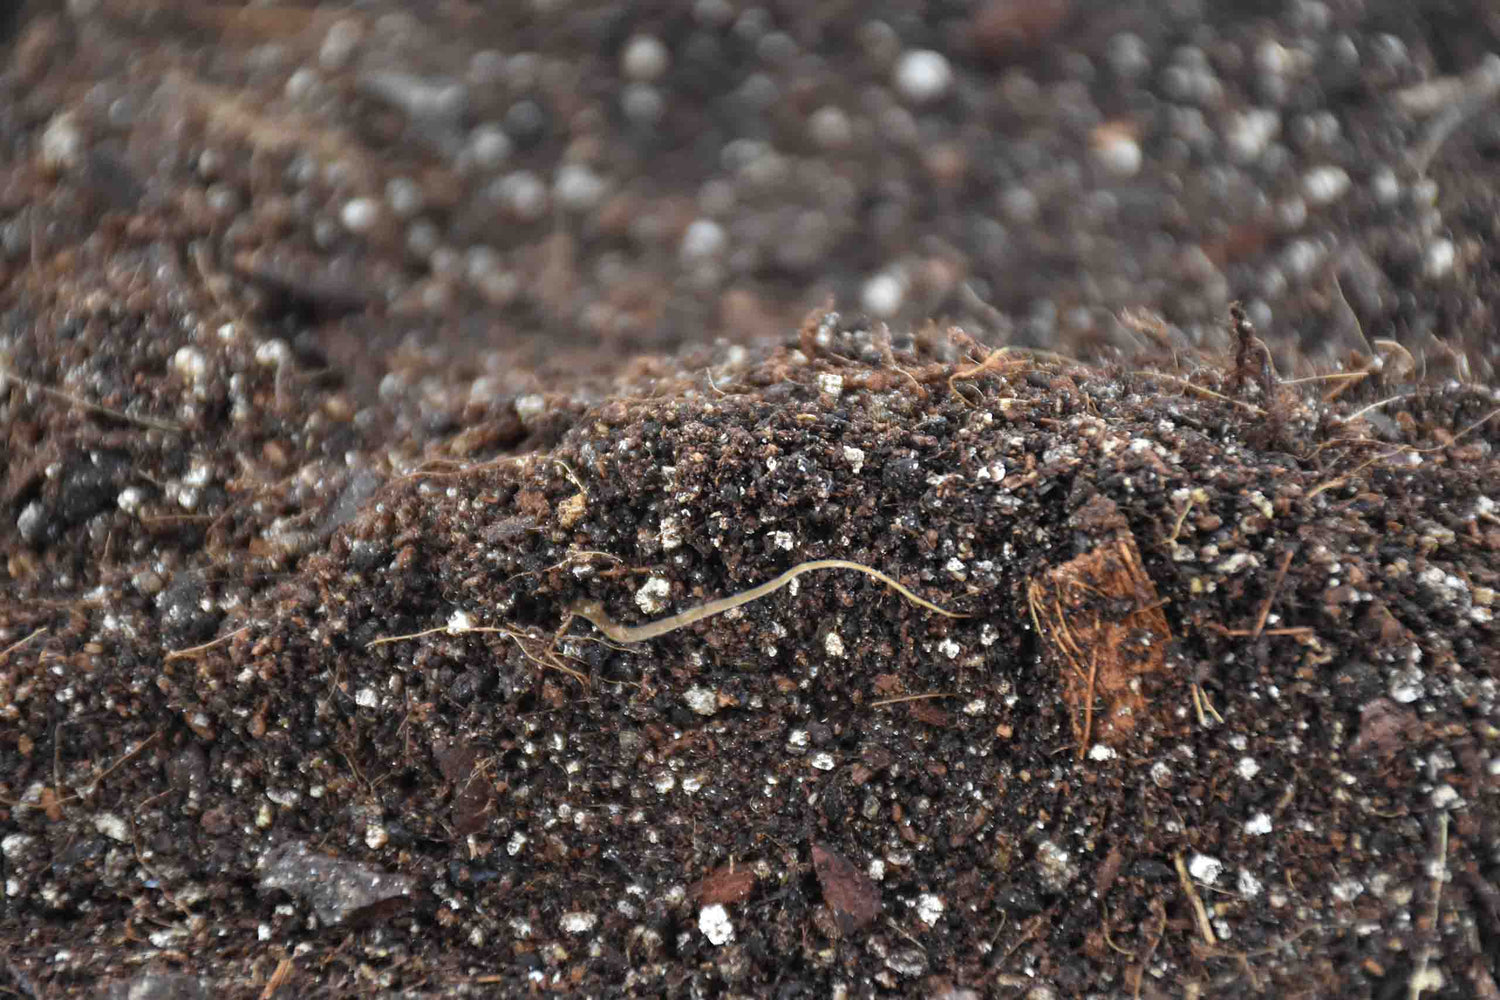
- Add Terrarium Substrate
- Add rocks & wood to your liking
- Add your plants of choice
- Add moss
- Finished! Spray the terrarium or add water. Wait till you see a small layer of water at the bottom. Place the lid on, and you're done!
For extra terrarium care tips, read this.
Before we jump in, what is a terrarium exactly?
That's a great question. A terrarium is an entirely self-sustaining ecosystem.
The water from the bottom evaporates up onto the glass, after which it falls onto the plants and the roots, just like in nature. This means that there is (almost!) no care needed.
The full tutorial
To get started, It is best to gather and organize all your required items neatly. To build a closed terrarium, you need the following items:
- A container (Preferably glass)
- Plants
- Terrarium substrate mix
- Clay balls
- Sphagnum moss
- Activated carbon
Optionally, you can also use the following:
- Moss
- Decorative wood
- Decorative rocks
- Tools
Tip: consider getting our Super Terrarium Bundle! This contains all the components you need to get started on your first terrarium project, without the hassle of having to look for every item seperately!
Step 1: The false bottom
The first step to creating your terrarium is adding Clay Balls. The reason we add clay balls is to create a drainage layer, and the goal of this layer is to keep the water in the bottom so it does not touch the soil. If the soil is exposed to water continuously, it will quickly lead to rot and other nasty issues.
Step 2: Sphagnum moss
Next comes a layer of Sphagnum Moss. This is going to create a barrier between the clay balls and the soil. Without this layer of moss, the soil would start slowly falling through the clay layer, risking your terrarium becoming mouldy.
Step 3: Activated carbon
Next up is activated carbon. The purpose of carbon is to filter out all the nasty chemicals that are in the water that would otherwise harm your plants.
Step 4: Adding the soil mix
Next, add your Terrarium soil substrate to your container. During this process, think about how you want your terrarium to turn out!
Tip: Make one edge of the terrarium higher the create the illusion of a hill. This gives the terrarium a more balanced composure.
Step 5: (optional) Throw in some natural materials
Organic elements, such as rocks and wood can really help in creating that natural terrarium look. However, just plants will also look fantastic. Play around with proportions and compositions until you’re satisfied with your setup.
Step 6: The fun part: add plants!
As a rule of thumb, any humidity-loving plant that does well in shade to part sun will do fantastic. Feel free to rely on Google for plant recommendations!
Don’t be afraid to experiment and try using plants you love. You can easily remove any plants if they are not doing too well.
To place your plants in the terrarium, make sure to remove all the soil that is around the plant's roots as these can sometimes contain fertilizers from the nurseries. These fertilizers could be harmful to your terrarium.
Tip: Place larger plants at the back and smaller ones up front to create a sense of depth in your terrarium.
Step 7: Moss
Next up is moss! You can rip the sheet moss and also the cushion moss into pieces to create perfect amounts for the space of your terrarium. Moss can be used as a filler for empty spaces. It also adds texture and color for a balanced and put-together result!
Step 8: Cleaning & placement
There are only a few steps left, And that is the placement of the Terrarium. To clean your glass terrarium, a microfiber cloth is a great option. We recommend cleaning the outside of your terrarium about once a week.
The best spot to place your terrarium is probably a window that doesn't get any direct sunlight but gets bright light every day, so the plants have sufficient sunlight.
Tip: f you see the leaves of plants reaching for the light, you should probably place them a little bit closer to your window. Leggy growth is a clear sign that your plants are not getting enough sun!
Tip: Add springtails to prevent mold and make the terrarium completely bioactive.
Finishing notes
Lastly, make sure to spray your terrarium down one more time or add some water. Make sure there is a little pool of water in your drainage layer. That’s it. On goes the lid!
Tip! We recommend using tap water that's been left out for about 24 hours or bottled, distilled water you can buy at the grocery store.
All of these items can be found here.
Questions? Feel free to reach out! We are always ready to help you out.


